

|Articles|March 26, 2020
- dvm360 April 2020
- Volume 51
- Issue 4
My dog has ‘heatworms’ … well, maybe
Author(s)Michael Nappier, DVM, DABVP
This mispronunciation may elicit giggles, but our clients may actually be onto something. Here’s why veterinarians might want to turn up the heat on heartworm tests.
Advertisement
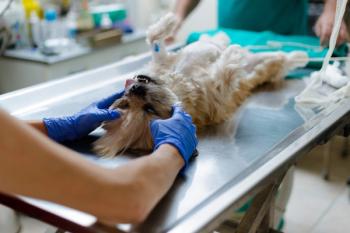
Your clients may be confused about the name of these deadly worms, and you might get a chuckle out of imagining little worms with heaters warming the insides of a dog, but our clients just may be onto something with this mispronunciation. We now know that adding a bit of heat may be the key to diagnosing heartworm infections. Here’s why.
Traditional heartworm tests rely on the ability to detect soluble heartworm antigen in the patient’s blood. However, some of our positive patients develop antigen-antibody complexes that block the test’s detection and cause false-negative results. This is especially problematic for patients with low worm burdens that already would have had low levels of circulating heartworm antigen. So, what can we do about it?
If we add some heat to our heartworm test samples, we can break down the antigen-antibody complexes and be able to detect those sneaky ‘heatworms.’
When to add the heat
Veterinarians should consider adding some heat—for both dogs and cats—when clinical signs of heartworm disease are present but a heartworm test result is negative. This may occur in dogs with a history of using the “slow kill” method for heartworm treatment, when chronic inflammatory problems that stimulate the immune system significantly (e.g. pyoderma) are present, or in a pet from a highly heartworm endemic area that does not have a consistent prevention history and tests negative.
According to the
- Step 1: Dilute the serum sample with an equal volume of 0.9% NaCl. Put the diluted serum in a glass collection tube.
- Step 2: Fill a 500-ml glass beaker with about 250 ml of tap water.
- Step 3: Microwave the beaker to the point of boiling (about two minutes in a 1,000-watt oven).
- Step 4: Remove the heated water from microwave and place the tube(s) with diluted sample into the heated water for 10 minutes. (Be sure to remove the rubber stopper before heating; some warping of the tube is expected.)
- Step 5: Repeat the antigen test.
Articles in this issue
about 6 years ago
The ABCs of veterinary dentistry: V is for ventilation monitoringabout 6 years ago
Surgery STAT: How to perform a caudal epidural in horsesabout 6 years ago
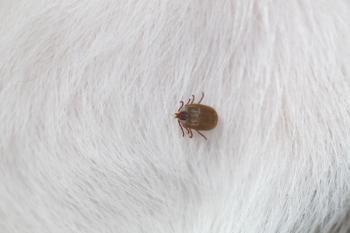
The who, what, when and where of ticksabout 6 years ago
Avoid real estate hiccups when buying a clinicabout 6 years ago
These are tough times, but our profession is tougherabout 6 years ago
Mission: Build an institutionabout 6 years ago
Pain management scholarship still open for techniciansabout 6 years ago
COVID-19: employment law updatesabout 6 years ago
Your accounting system may be hiding opportunityAdvertisement
Related Content
Advertisement

Latest CME


Advertisement
Advertisement
Trending on dvm360
1
Veterinary Emergency Team in Texas deploys in response to NWS cases
2
Dermatology health and the microbiome: How they interact for healthy skin from within
3
Beyond the exam room: Pride month in veterinary medicine
4
USDA approves canine vaccination for Lyme disease and leptospirosis
5